If you’re also obsessed too much with Angular like me & trying to explore a user-friendly guide to build real-time maps in angular with Mapbox GL then this guide is for you! This time I don’t want you to bore you with too many explanations since we got to cover a lot of required to take care of! In this blog, I am covering the basics and step by steps guide to build real-time map features with Angular & MapBox GL.
Here’s a highlight of what is covered below to build the Real-Time map.
- How to set up an angular app and create a new angular application
- How to create Mapbox Account
- How to install MapboxGL, add and access the Mapbox API in angular application
- How to customize map styles and get the Mapbox style URL
- How to format GeoJSON data
- Finally, Build the Live Real-Time Map
Setup Angular App
Angular app pre requires node & angular CLI package installed globally using the following code.
Install Nodejs And Npm
Follow the below command and get done your Node.js & NPM installation.
sudo apt install nodejs npm
After installation, you can also verify the version of Node.js installed using this,
nodejs --version
npm --version
Once we have done with the Nodejs & npm package installation. We must also install an angular CLI package so follow the below command.
Install Angular CLI
npm install -g @angular/cli
Create New Angular Application
ng new mapbox-app
Now, the new angular application is created, next we will create a Mapbox account.
Create a Mapbox Account
Mapbox is used to create custom applications that solve problems with maps, data, and spatial analysis.
If you already have an account login the Mapbox account then you can directly login using the following link,
https://account.mapbox.com/auth/signin/
If you don’t have an account then you can signup using the below link here,
https://account.mapbox.com/auth/signup/
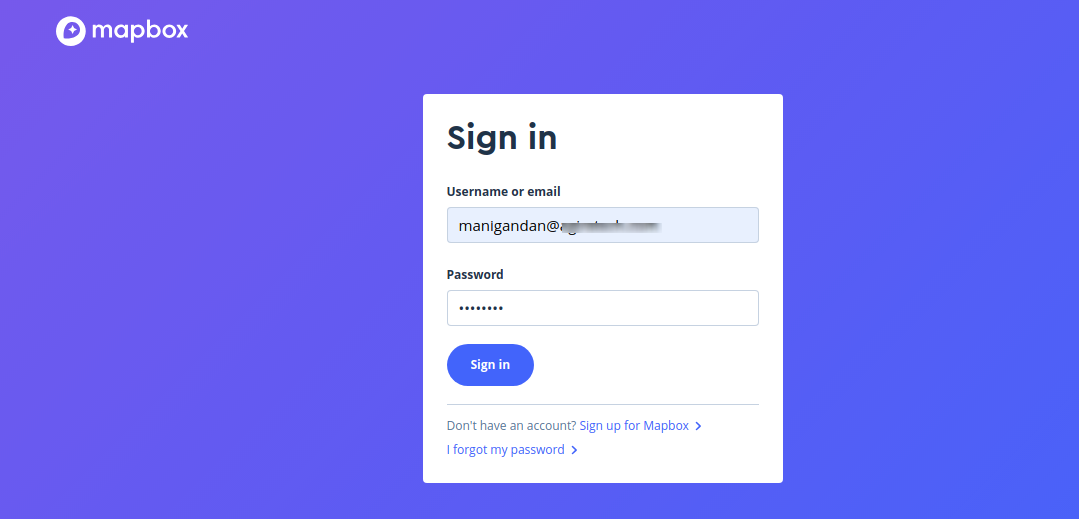
Once the Mapbox account is created then we need to integrate or install a Mapbox in angular application.
Install Mapbox GL In Angular Application
You can install the Mapbox-gl package using the following code
npm install mapbox-gl --save
Once Mapbox-gl got installed you will need to add the Mapbox CSS library to the index.html file as shown in below fig. You can also get the link for Mapbox CSS library here

Add Mapbox API
Next, add your Mapbox API token to the environment.ts & environment.prod.ts file
environment.ts
export const environment = {
production: false,
mapbox: {
  accessToken: 'YOUR_API_TOKEN'
}
};
Access Mapbox API Token
How to get YOUR_API_TOKEN. Login the Mapbox account go to account options as shown in the following fig.
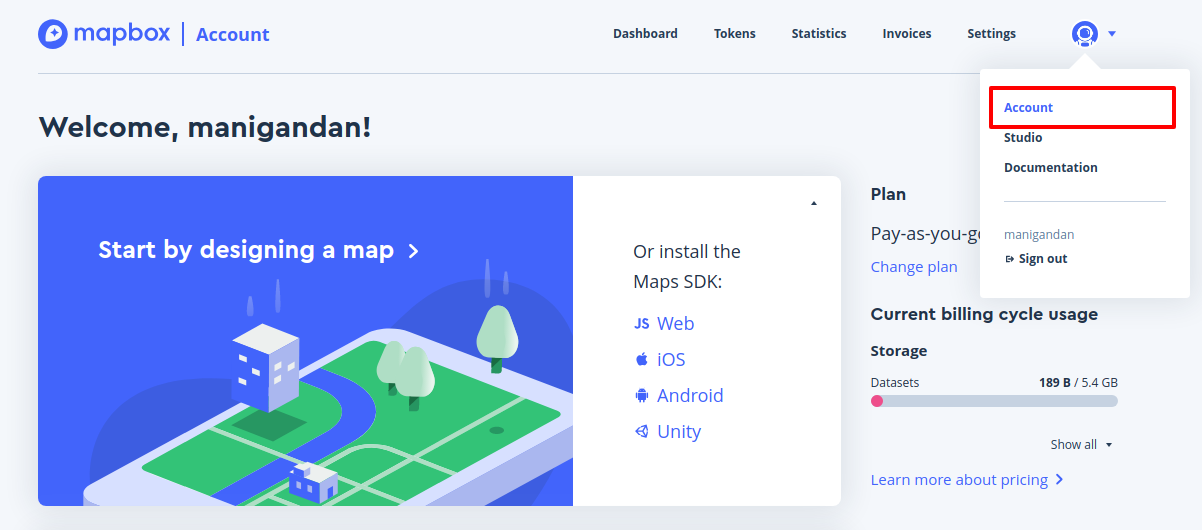
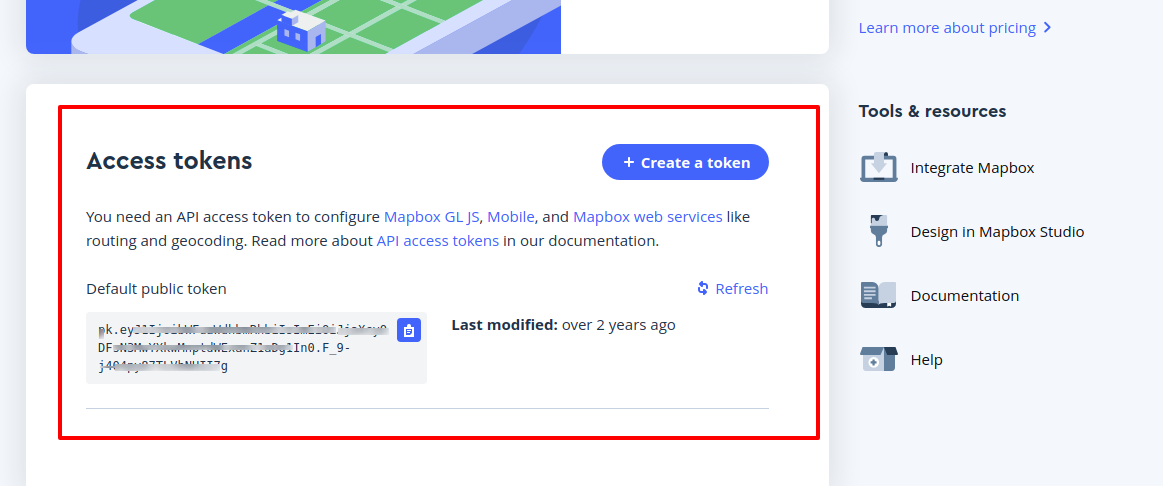
Once the environment config is done. Create one service component where we need to add Mapbox services in it.
Create Service Component In Angular
ng generate service mapbox
Once the Mapbox-service.ts file got generated and add the below code
import { Injectable } from '@angular/core';
import { environment } from '../environments/environment';
import * as mapboxgl from 'mapbox-gl';

@Injectable({
providedIn: 'root'
})
export class MapboxService {

constructor() {
  mapboxgl.accessToken = environment.mapbox.accessToken;
}

getMarkers() {
  const geoJson = [{
    'type': 'Feature',
    'geometry': {
      'type': 'Point',
      'coordinates': ['80.20929129999999', '13.0569951']
    },
    'properties': {
      'message': 'Chennai'
    }
  }, {
    'type': 'Feature',
    'geometry': {
      'type': 'Point',
      'coordinates': ['77.350048', '12.953847' ]
    },
    'properties': {
      'message': 'bangulare'
    }
  }];
  return geoJson;
}
}
Next, open app.component.ts file and add the Mapbox style and default settings using the below code.
Custom Mapbox Style
map: mapboxgl.Map;
style = ‘YOUR-STYLE-LINK’;
lat = 13.0569951;
lng = 80.20929129999999;
message = 'Hello World!';
Also Read: How To Build Login Page Using Angular Material Design Clearly Explained
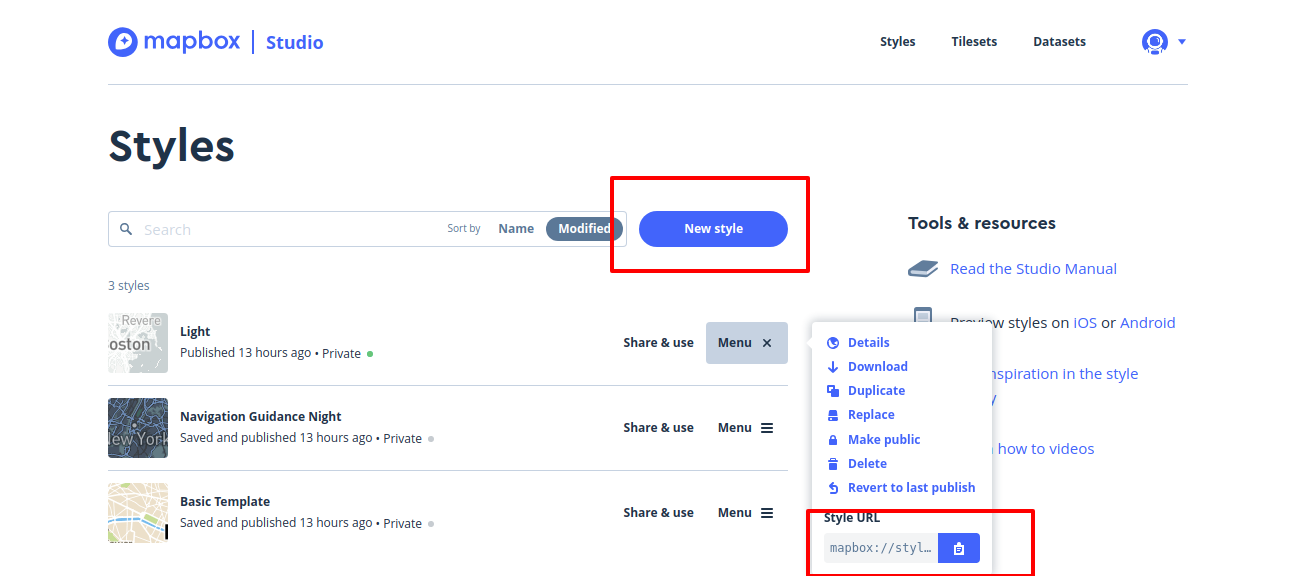
How To Get The Mapbox Style Url
- login to the Mapbox account and select the account option.
- Then select to Design in Mapbox Studio and you will get the list of added styles.
If you have already added the style select menu icon and code for style as shown in fig. Then you will get the Mapbox style and you have to use this style link in app.component.ts file.
How to add geojson marker in Angular
Here we must build the real-time geojson marker using angular service and mapbox objects.
this.map.on('load', (event) => {
// add the real time map data
});
First, register the map source using the following code
this.map.addSource('customMarker', {
      type: 'geojson',
      data: {
        type: 'FeatureCollection',
        features: []
      }
});
Then, get the realtime geojson data and set the data source
const markers = this.mapboxService.getMarkers();
    const data = {
      type: 'FeatureCollection',
      features: markers
    };
this.map.getSource('customMarker').setData(data);
Create A Real-Time Map
Finally, we have to create map layers with real-time data using the following code
 this.map.addLayer({
      id: 'customMarketid',
      source: 'customMarker',
      type: 'symbol',
      layout: {
        'text-field': '{message}',
        'text-size': 24,
        'text-transform': 'uppercase',
        'icon-image': 'marker-15',
        'text-offset': [0, 1.5]
      },
      paint: {
        'text-color': '#f16624',
        'text-halo-color': '#fff',
        'text-halo-width': 2
      }
    });
Add the html code as follows in app.component.ts
<div class="map" id="map"></div>
Add the style code as follows in app.component.css or less
.map{
width: 100%;
height: 100vh;
}
Now run the angular application using following command & you can see it in http://localhost:4200
ng serve
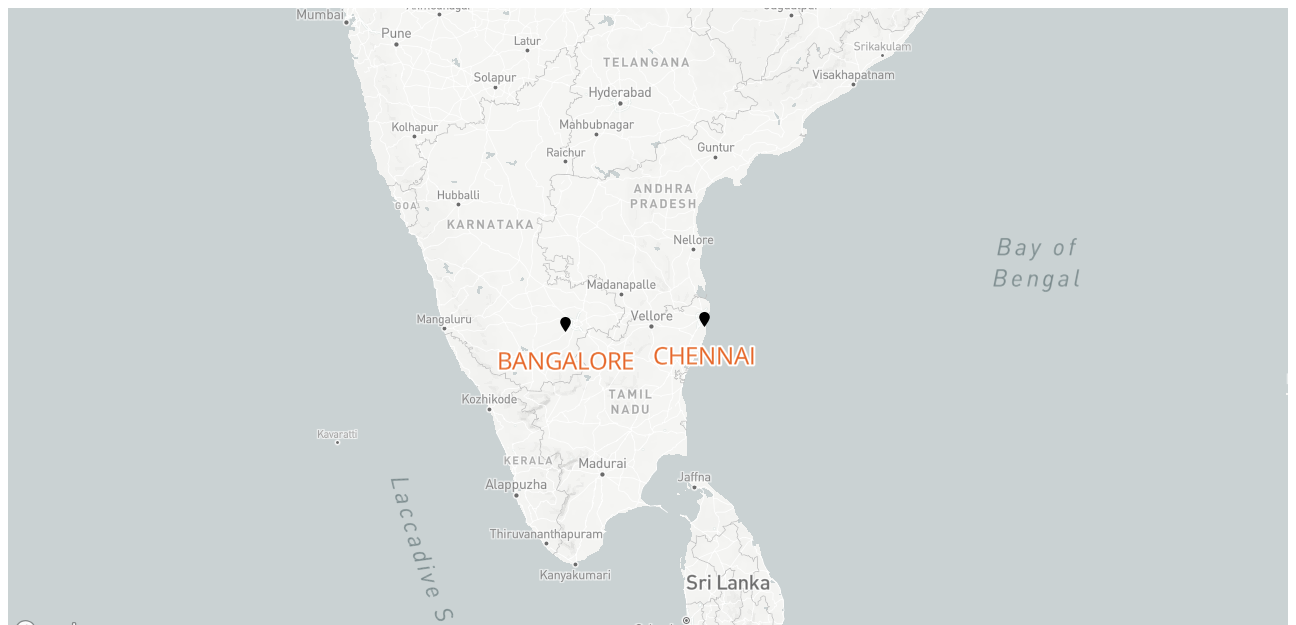
Great. We did it, guys! give it a try & let us know your experience & difficulties in solving it in the comments below.


